- Free printable
- Ruler
- Pencils
- Crayola markers
- Scrap paper or sketchbook
- Scissors
- Eraser
- Glue stick
- Christmas cards
Easy Christmas Card Envelope Lettering: Make Mailboxes Merry

Part of the fun of sending Christmas cards is making pretty envelopes. That’s why our creative team came up with an easy-to-use template with fonts and holiday icon suggestions that will make hand lettering holiday card envelopes easy!
Grab a friend or another Christmas card enthusiast, get out your markers and set out to make mailboxes happy.

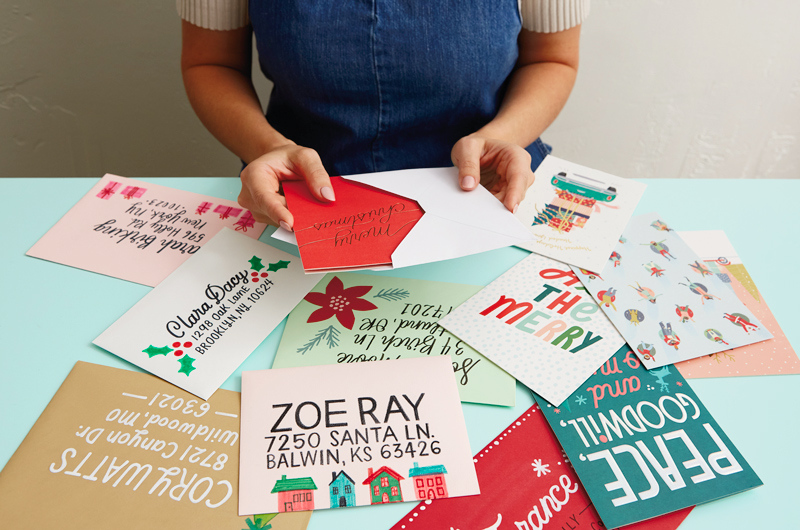
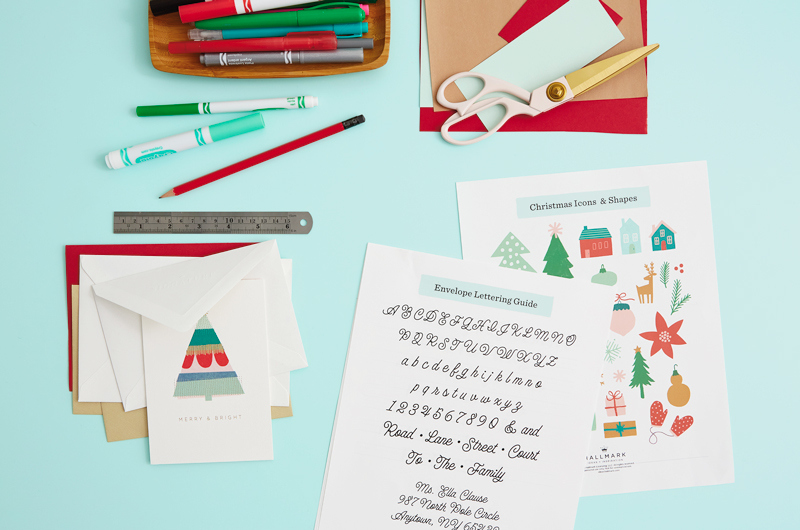
We’re a big fan of this printable template. There are a variety of styles to choose from when lettering envelopes, and there are lots of cute holiday icons to decorate with. But before doing anything with your envelopes, we suggest sketching out little thumbnails of possible compositions:
- Maybe the address is in the centre, with a larger poinsettia off to the left.
- Maybe the whole address is inside the shape of a present with a little bow on top.
- We like mixing fonts sometimes—the name can be one of the more formal, cursive fonts, while the rest of the address can be a casual print font.
Pro tip: When lettering your Christmas card envelope, keep enough room on the top right for a stamp, and remember to include a return address. The return address can go on the back flap of the envelope if you would like to use the full space on the front for your envelope art.
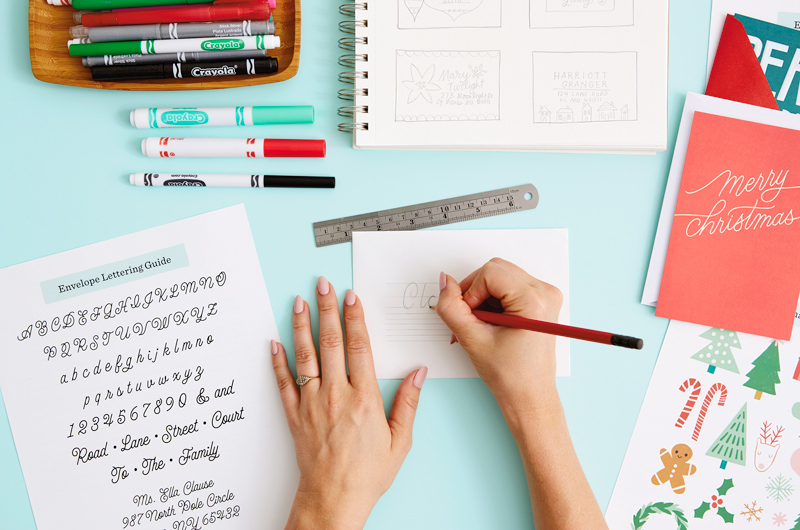
Once you’ve chosen a font (or two) to use, start by using a ruler and pencil to mark out the lines your letters will go on. We’ve included blue guides on our template for you to follow. Mark out three lines using the ruler. They’ll help guide you where to draw the letters.
- The bottom line will be your baseline, where most letters will sit.
- The top will be the highest point of your letters.
- The middle line is your x-height—the height of lowercase letters.
Since addresses typically have three lines—the name, the street, and the city/state/ZIP code—repeat the step above two more times.
Now we’re ready to pencil in the letters!
When hand lettering holiday envelopes, it’s a great idea to sketch them out with a pencil first. As you pencil in each letter on your envelope, look at the template to see how each letter is formed. The three ruled lines can help tremendously in figuring out where to put each curve and stroke. It won’t be a perfect match, and that’s OK! You also have the freedom to improvise.
Remember to keep everything lightly sketched out. It’ll be easier to erase if you have a mistake or if you need to move things for spacing reasons.
At this point, you can also lightly pencil in any embellishments or icons you plan on using to decorate your Christmas card envelope.
Tips for tracing
To copy the letters exactly from the template, you could use a light table or tape the printable on a window. Here’s how:
- Tape the template sheets down on the light table or up on a window.
- Hold the envelope up against the template sheet with one hand.
- Slowly trace each letter, moving the envelope to the letter you need to trace.
You could also try using a lit tablet or flashlight under a glass table if you need another alternative.
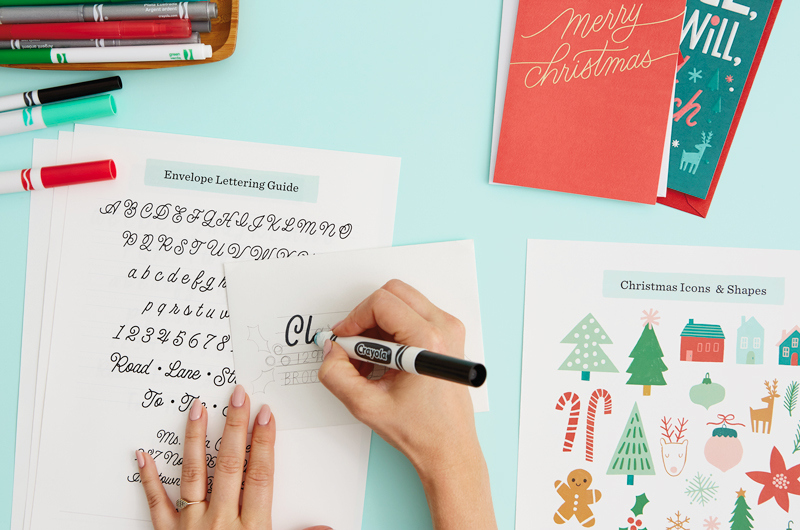
Once you’ve traced the letterforms in pencil onto your envelope, it’s time to use markers. This step can be scary because it feels so permanent, but trust us, it’s going to be OK.
If you plan on using a coloured marker, you might want to lightly erase your pencil marks so that you can still see everything, but it won’t show through as much (markers are a little transparent).
Additionally, test out your marker on a spare sheet of paper to make sure it’s not dry, and that it’s the correct colour and desired thickness. We used a thick Crayola marker for the name on this example, then a thinner one to write the address since the letters got much smaller.
Once you’ve traced over everything with markers, let it dry and set for a good 30 minutes. Test a small part with your eraser to make sure it won’t smudge, then erase the leftover pencil marks.
Need something simpler? Or just want more?
If you’re looking for more of an intermediate way to decorate, check out our other article here. And of course, all of our very best Christmas card tips are here.
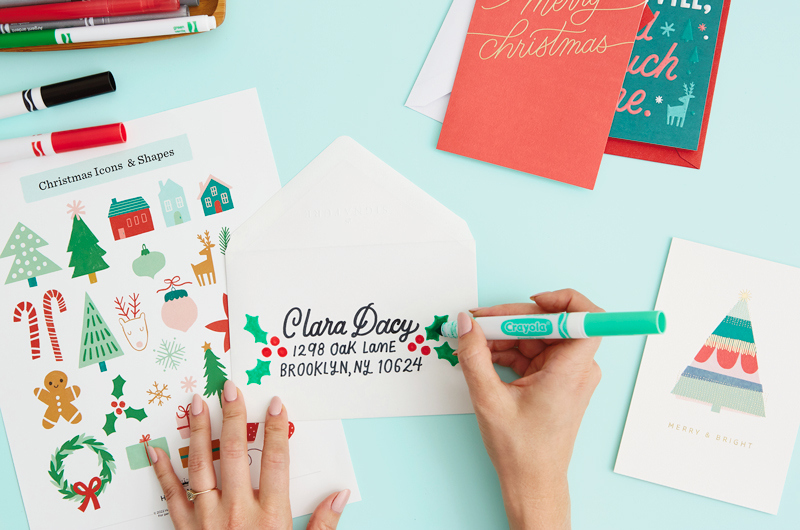
A little extra holiday cheer makes the envelope that more festive and special to receive in the mail. We included some cute Christmas icons and shapes to choose from when decorating!
Like we said before, they can show up anywhere on the envelope. If you’re not sure where to start, you could try:
- A line of houses below the address
- Two pine trees to the left of the address
- Putting the address inside a wreath or present
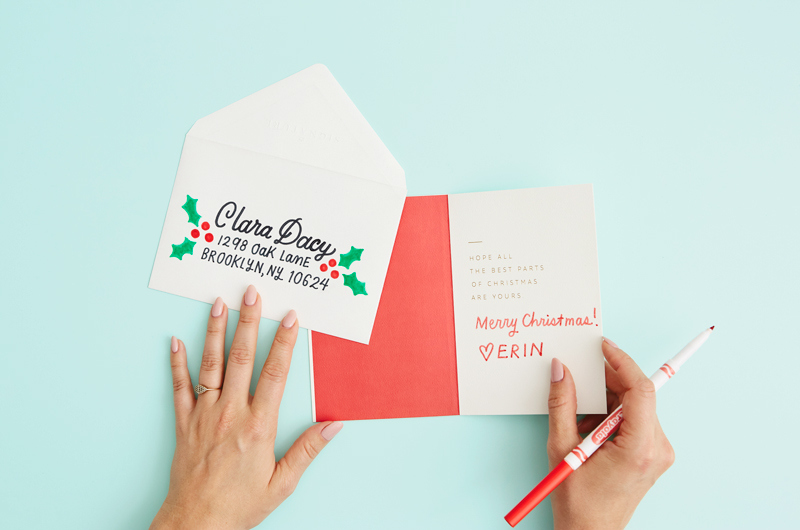
Also, look at the card you’re sending. There might be something on the front or inside of the card you would like use or complement when decorating the envelope.
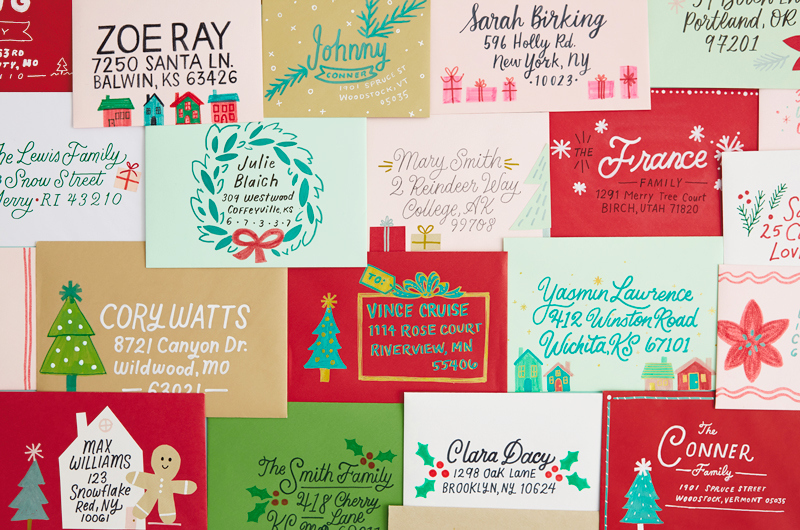
These motifs can easily be made with markers and cut paper. If your markers are more transparent and the envelope is a brighter colour like red or green, you may consider adding a cut paper decoration so there is enough contrast for it to show up on the envelope.
Use any scrap construction paper or computer paper to cut out shapes, then use a marker to add in details. Simply glue on using a glue stick!
More Pro Tips
- To make envelope lettering easier, instead of lettering the whole address, just focus on the recipient’s name. For the rest, use your regular handwriting.
- Enlist some friends to help and bribe them with your favourite Christmas treats.
- If you have a lot of envelopes to letter, focus on one step of the process at a time. Pencil in all your envelopes, then use a marker on everything.
- Need ideas for what to write in a Christmas card? You know we’ve got you.
Looking for more ways to get creative this holiday season? Let’s do this!
- We put together a bunch of ideas for Christmas care packages. Check them out here.
- Looking to level-up your tree decorating? We have photo stylist tips for you. [link when posted]
- Put some adventure in your advent tradition with these family-friendly activities.
- Is this baby’s first Christmas? We have simple tips and zero mom guilt waiting right here.